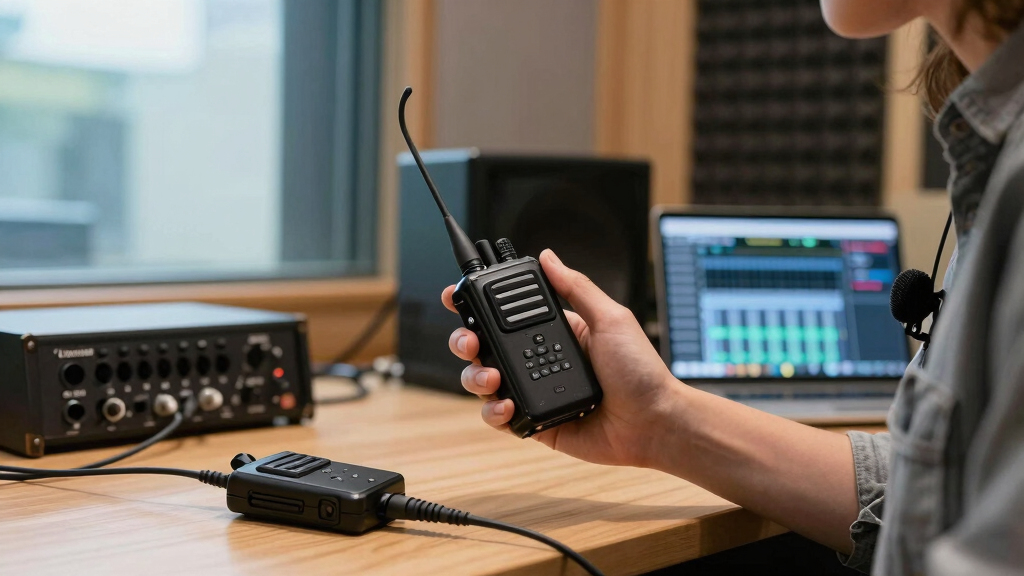

This guide walks creators through installing and configuring a wireless microphone system for high-quality audio recording. Designed for those with basic audio or tech familiarity, it covers all necessary steps to ensure clear, stable sound during videos, podcasts, or live streams. Follow these instructions carefully to avoid common issues and achieve professional results.

Get audio and creator gear delivered free with Prime
- Fast, free delivery on millions of items
- Prime Video, Amazon Music and more included
- Member-only deals all year

DJI Mic Mini (2 TX + 1 RX) Wireless Lavalier Microphone for iPhone, Camera, Android
- ✔ Weight: 10 g
- ✔ Transmission Range: 400 m
- ✔ Sampling Rate: 48 kHz

MicrocKing Wireless Microphone System with 4 Handheld Mics, Metal Build, 400ft Range
- ✔ Number of Microphones: 4
- ✔ Range: 400 ft
- ✔ Frequency: Fixed UHF

Mini Mic Pro – Wireless Lavalier Microphone for iPhone & Android
- ✔ Connectivity Technology: Wireless
- ✔ Connector Type: Lightning, USB Type-C
- ✔ Special Features: 1-Touch Recording, Noise Reduction
Difficulty: Intermediate | Time: 30-60 minutes
What You’ll Need
Tools & Materials:
- Wireless microphone kit (transmitter, receiver, microphones)
- Batteries for transmitters
- Audio recording device or camera with microphone input
- Audio cables (if necessary)
- Smartphone or tablet for app setup (optional)
Knowledge:
- Basic understanding of audio equipment
- Ability to connect devices via cables or wireless settings
Ensure your wireless system is compatible with your recording device. Fully charge all batteries before starting. Read the manufacturer’s instructions for specific device features.
DJI Mic Mini (2 TX + 1 RX) Wireless Lavalier Microphone for iPhone, Camera, Android
<p>The <strong>DJI Mic Mini</strong> stands out for its ultralight, compact design, making it ideal for creators who need discretion and ease of transport. Its impressive 48-hour battery life supports extended recording sessions, while the stable transmission range of up to 400 meters ensures reliable performance in various environments. The noise cancellation features deliver clear, detailed audio, suitable for interviews, vlogs, and live recordings. Compared with bulkier systems, it sacrifices some environmental durability, as it’s not waterproof, and magnets might interfere with sensitive electronics. This pick makes the most sense for creators who prioritize mobility and long-lasting performance over rugged outdoor use.</p>
Pros:
- Compact and lightweight for discreet use
- Long battery life supports extended shoots
- High-quality, noise-canceling audio
- Long transmission range up to 400 meters
Cons:
- Not waterproof, requires careful handling
- Magnets may interfere with electronics
- Limited temperature performance
Best for: Content creators who need a lightweight, long-lasting wireless mic for indoor or controlled outdoor environments.
Not ideal for: Creators working in wet conditions or in environments with high electromagnetic interference.
Bottom line: The DJI Mic Mini offers an excellent balance of portability and performance for creators who need reliable, long-lasting audio in controlled environments.
“The DJI Mic Mini offers an excellent balance of portability and performance for creators who need reliable, long-lasting audio in controlled environments.”
MicrocKing Wireless Microphone System with 4 Handheld Mics, Metal Build, 400ft Range
<p>The <strong>MicrocKing system</strong> is tailored for creators who need multiple microphones, such as hosts, performers, or event organizers. Its four handheld UHF mics combined with a four-channel receiver facilitate simultaneous use without interference, thanks to its fixed frequency design. The rugged metal and plastic build ensures durability in demanding environments. While its high-quality sound and stable connection make it a favorite for live settings, the fixed RF channels limit flexibility in crowded environments. Batteries aren’t included, which can be inconvenient, and the system’s bulkier profile is less suited for discreet recording.</p>
Pros:
- Durable metal and plastic construction
- Stable wireless performance with fixed UHF frequency
- Includes four handheld microphones
- Easy to set up with individual volume controls
Cons:
- Batteries not included, additional cost
- Limited RF flexibility in crowded environments
- Bulkier setup compared to portable systems
Best for: Event hosts, performers, or creators needing multiple mics for group recordings or live performances.
Not ideal for: Solo creators or those working in RF-dense areas where frequency flexibility is required.
Bottom line: MicrocKing is best suited for creators needing multiple microphones in a durable, reliable setup for live or group settings, at the expense of flexibility and portability.
“MicrocKing is best suited for creators needing multiple microphones in a durable, reliable setup for live or group settings, at the expense of flexibility and portability.”
Mini Mic Pro – Wireless Lavalier Microphone for iPhone & Android
<p>The <strong>Mini Mic Pro</strong> offers a compact wireless solution that’s perfect for creators needing studio-quality audio with minimal setup. Its compatibility with iPhone, Android, tablets, and laptops makes it highly versatile for interviews, voiceovers, or content creation. The noise reduction and 1-touch recording features simplify capturing clear sound, while the 6-hour rechargeable battery provides reasonable runtime for mobile work. However, it requires 2 C batteries, which can be inconvenient, and its omnidirectional pickup pattern may pick up unwanted background noise in noisy environments. It lacks the environmental resistance of larger systems but excels in portability and ease of use.</p>
Pros:
- Easy plug-and-play with multiple devices
- Studio-quality sound with noise reduction
- Lightweight and portable
- Up to 6 hours of battery life
Cons:
- Requires 2 C batteries, adding inconvenience
- Limited background noise control in noisy settings
- No included carrying case
Best for: Content creators, vloggers, or voiceover artists seeking portable, high-quality audio with quick setup.
Not ideal for: Creators working in loud, outdoor environments or those requiring extensive battery life without carrying extra batteries.
Bottom line: Mini Mic Pro is an excellent choice for creators prioritizing portability and quick setup for interviews or voice content, despite some environmental noise limitations.
“Mini Mic Pro is an excellent choice for creators prioritizing portability and quick setup for interviews or voice content, despite some environmental noise limitations.”
As an Amazon Associate we earn from qualifying purchases.
Before You Start
Turn off all devices before connecting to prevent static or damage. Confirm your recording environment is free of unnecessary interference, such as other wireless devices operating on similar frequencies. Have your equipment within reach and ready to configure.
Step-by-Step Instructions
Step 1: Unpack and inspect the wireless microphone system
Remove all components from packaging and verify that you have a transmitter, receiver, microphone(s), power adapters, and cables. Check for any damage or missing parts.
Tip: Consult the user manual to familiarize yourself with each component’s location and functions.
Check: All components are present, undamaged, and ready for setup.
Step 2: Install batteries and power on the devices
Insert fresh batteries into the transmitter and receiver if they are battery-powered. Connect power adapters if using mains power. Turn on both the transmitter and receiver.
Tip: Ensure batteries are inserted correctly, observing polarity. Use high-quality batteries for longer operation.
Check: Both devices power on without error lights or warnings.
Step 3: Connect the receiver to your recording device
Plug the receiver’s output into your camera or audio recorder using the appropriate cable (XLR, 3.5mm, or other). Secure the connection and turn on your recording device.
Tip: Use a cable with good shielding to reduce interference. Confirm the connection is snug and secure.
Check: Your device recognizes the external audio input, and audio levels appear responsive.
Step 4: Set the wireless frequency and sync devices
Power on the transmitter, then use the device’s menu or buttons to select a clear frequency. Use a frequency scanner if available to avoid interference. Sync the transmitter with the receiver via auto-pairing or manual input, following the manufacturer’s instructions.
Tip: Choose a frequency with minimal interference, often indicated by a signal strength meter or noise indicator.
Check: The system displays a stable connection with no static or dropouts during testing.
Step 5: Configure audio settings and test the system
Adjust the transmitter’s microphone gain and receiver’s input levels to prevent distortion. Speak into the microphone at your natural volume and monitor the audio levels on your recording device or camera.
Tip: Aim for levels that peak around 75-80% on the meter, avoiding clipping or too low signals.
Check: Audio levels are clear, consistent, and free of static or background noise during test speech.
Step 6: Perform a real-world test recording
Record a short segment speaking naturally into the microphone while moving around if necessary. Play back the recording and listen for clarity, background noise, or dropouts.
Tip: Check for consistent volume and clarity throughout the recording. Adjust gain if needed.
Check: The test recording captures clear, stable audio with no noticeable interference or dropout.
Common Mistakes to Avoid
- Using incompatible or low-quality cables — Use cables recommended by your equipment manufacturer and ensure they are well-shielded to prevent noise.
- Selecting a crowded frequency channel — Use a frequency scanner or the system’s auto-scan feature to find a clear, interference-free channel.
- Not testing the system before recording — Always perform a test recording and listen back to confirm audio quality before starting your actual shoot.
Troubleshooting
Problem: Audio has static or dropouts
Solution: Check for interference from other wireless devices, change the frequency, or move closer to the receiver.
Problem: Microphone not transmitting audio
Solution: Ensure batteries are charged or replaced, and that the transmitter and receiver are properly synced.
Problem: Low audio levels
Solution: Increase the microphone gain or adjust the input level on your recording device. Confirm the microphone is positioned correctly.
Problem: System won’t pair or sync
Solution: Reset both devices, then follow the pairing instructions carefully. Update firmware if available.
What Success Looks Like
The wireless microphone system transmits audio clearly and consistently to your recording device. The recorded sound is free of static, dropouts, or background noise, with levels that are easy to hear and balanced.
Next Steps
Secure all equipment after use, store batteries properly, and perform periodic tests before important shoots. Consider upgrading components or adjusting settings for different environments. Regularly update firmware if your system supports it for improved performance.
Frequently Asked Questions
How do I avoid interference with other wireless devices?
Use a frequency scanner to find a clear channel. Avoid operating near Wi-Fi routers, wireless routers, or other wireless microphones operating on similar frequencies.
How often should I replace batteries?
Replace or recharge batteries before each use, especially if recording for extended periods. Keep spare batteries on hand to prevent interruptions.
Can I use multiple wireless microphones at once?
Yes, but ensure each transmitter operates on a different, interference-free frequency. Consult your system’s manual for multi-mic configurations.
What should I do if I hear static during recording?
Check all connections, replace batteries if low, and scan for cleaner frequencies. Move closer to the receiver if signal strength is weak.
Halloween Picks
halloween
As an affiliate, we earn on qualifying purchases.