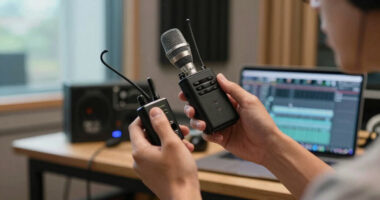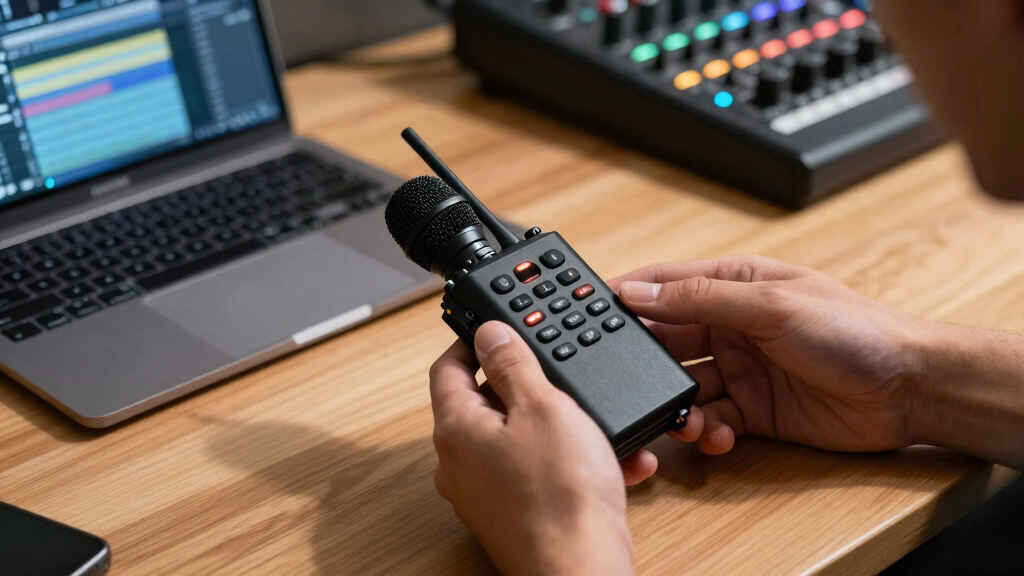
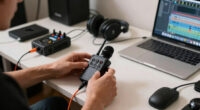
This guide shows content creators how to properly select, connect, and test a wireless microphone system. It covers essential setup steps to ensure high-quality audio without interference or technical issues, suitable for those familiar with basic audio and video equipment.

Get audio and creator gear delivered free with Prime
- Fast, free delivery on millions of items
- Prime Video, Amazon Music and more included
- Member-only deals all year

DJI Mic Mini (2 TX + 1 RX) Wireless Lavalier Microphone for iPhone, Camera, Android
- ✔ Weight: 10 g
- ✔ Transmission Range: 400 m
- ✔ Sampling Rate: 48 kHz

Mini Mic Pro (Latest Model) Wireless Microphone for iPhone & Android
- ✔ Compatibility: iPhone, Android, tablet, laptop
- ✔ Connectivity: USB-C, Lightning adapters included
- ✔ Battery Life: Up to 6 hours

Hollyland Lark M2 Wireless Microphone for iPhone, Camera, Android, and PC
- ✔ Weight: 9 g
- ✔ Range: 300 m
- ✔ Audio Format: 48kHz/24-bit
Difficulty: Intermediate | Time: 30-45 minutes
What You’ll Need
Tools & Materials:
- Wireless microphone system (transmitter and receiver)
- Audio mixer or camera with microphone input
- Batteries or power supplies for devices
- Audio cables (if needed)
- Optional: headphones for monitoring
Knowledge:
- Basic understanding of audio equipment
- Familiarity with camera or recording device setup
Verify compatibility of the wireless system with your camera or recording device beforehand. Fully charge or install batteries in all devices before starting.
DJI Mic Mini (2 TX + 1 RX) Wireless Lavalier Microphone for iPhone, Camera, Android
<p>The <strong>DJI Mic Mini</strong> stands out for its <strong>compact, lightweight design</strong> combined with an impressive <strong>400-meter transmission range</strong>. Its 48-hour battery life with a charging case makes it perfect for creators on extended shoots or outdoor adventures. The noise cancellation ensures clear audio even in noisy environments, making it an excellent all-rounder. However, its lack of waterproofing and small parts mean it’s less suited for wet conditions or environments with children. Compared to others, this system offers the best balance of range, battery life, and audio clarity, though it might be overkill for creators who primarily record indoors or short clips.</p>
Pros:
- Compact and lightweight for discreet use
- High-quality audio with noise cancellation
- Extended 48-hour battery life with charging case
- Stable wireless transmission up to 400 meters
Cons:
- Not waterproof, caution in rain or wet environments
- Contains small parts that could pose choking hazards
- Magnetic components may interfere with some devices
Best for: Creators needing reliable, long-distance wireless audio with high-quality noise cancellation
Not ideal for: Creators working in wet environments or with very young children around small parts
Bottom line: The DJI Mic Mini delivers unmatched range and battery life, making it ideal for versatile, outdoor, and extended recording scenarios.
“The DJI Mic Mini delivers unmatched range and battery life, making it ideal for versatile, outdoor, and extended recording scenarios.”
Mini Mic Pro (Latest Model) Wireless Microphone for iPhone & Android
<p>The <strong>Mini Mic Pro</strong> is designed for creators who need a <strong>plug-and-play solution</strong> compatible with multiple devices like iPhone, Android, tablets, and laptops. Its <strong>lightweight design</strong> under 1 ounce makes it perfect for quick interviews, TikTok videos, or voiceovers on the move. The microphone offers studio-quality sound with noise cancellation but is limited to about <strong>6 hours of use per charge</strong>. It requires adapters for some devices, which can add setup time, and isn’t suitable for professional studio environments. Compared with the DJI Mic Mini, it’s less suited for long outdoor shoots but excels in portability and ease of use for everyday content creation.</p>
Pros:
- Easy plug-and-play connection with multiple devices
- High-quality noise cancellation
- Lightweight and portable
- Includes wind protection accessories
Cons:
- Limited to 6 hours of battery life
- Requires adapters for some devices
- Not designed for extended or professional studio use
Best for: Creators needing quick, portable audio for short-form content and mobile recording
Not ideal for: Producers requiring all-day recording or professional studio-grade audio
Bottom line: The Mini Mic Pro is perfect for creators seeking a simple, portable mic for short recordings and on-the-fly content production.
“The Mini Mic Pro is perfect for creators seeking a simple, portable mic for short recordings and on-the-fly content production.”
Hollyland Lark M2 Wireless Microphone for iPhone, Camera, Android, and PC
<p>The <strong>Hollyland Lark M2</strong> excels in delivering <strong>studio-quality 48kHz/24-bit audio</strong> combined with an impressive <strong>300-meter transmission range</strong>. Its <strong>40-hour battery life</strong> with a charging case makes it suitable for extended filming sessions or podcasts. Its lightweight design at just 9 grams makes it highly portable, and its noise cancellation ensures clear sound even in challenging environments. However, it requires connection to a camera’s 3.5mm jack for stereo recording, and some features are device-specific, which could limit flexibility for certain users. Compared to the DJI Mini, this system emphasizes superior audio fidelity and longer battery life over extended range, making it ideal for professional filmmakers and podcasters.</p>
Pros:
- Extremely lightweight at 9g
- High-quality 48kHz/24-bit audio
- Long battery life up to 40 hours
- Stable transmission up to 300 meters
Cons:
- Requires connection to camera’s 3.5mm jack for stereo output
- Limited device compatibility in some features
- Can be complex for beginners unfamiliar with wireless setups
Best for: Filmmakers, vloggers, and podcasters needing high-quality, long-lasting wireless audio
Not ideal for: Creators who need a simple, all-in-one microphone or work primarily indoors with limited ranges
Bottom line: The Hollyland Lark M2 is the top choice for creators prioritizing professional-grade sound and long-range stability, despite its slightly complex setup.
“The Hollyland Lark M2 is the top choice for creators prioritizing professional-grade sound and long-range stability, despite its slightly complex setup.”
As an Amazon Associate we earn from qualifying purchases.
Before You Start
Ensure your recording environment has minimal interference (avoid Wi-Fi congestion or metal obstructions). Place the receiver close to the transmitter for optimal signal strength. Test battery levels and confirm all equipment is functioning before beginning detailed setup.
Step-by-Step Instructions
Step 1: Choose the right wireless microphone system
Select a system compatible with your device, budget, and intended use. Consider frequency range, battery life, and receiver type (handheld, lavalier, or headset).
Tip:Check for license-free frequencies in your region to avoid interference.
Check: System’s specifications match your needs; you have identified a compatible, suitable model.
Step 2: Insert batteries and power on the devices
Insert fresh batteries or connect power supplies to both the transmitter and receiver. Turn on each device and verify they power up correctly.
Tip:Use fresh batteries to prevent unexpected power loss during use.
Check: LED indicators confirm both units are powered and ready for pairing.
Step 3: Sync the transmitter and receiver
Follow your system’s specific pairing procedure—typically, press a sync or pairing button on both units. Wait for confirmation lights or signals indicating successful pairing.
Tip:Keep the devices close during pairing to ensure a strong connection.
Check: Indicators show a stable connection, and the receiver displays the transmitter’s signal strength.
Step 4: Connect the receiver to your recording device
Plug the receiver’s output into your camera or audio recorder using the appropriate cable (XLR or 3.5mm). Secure the connection and ensure it is snug.
Tip:If using a camera, select the correct input source and set the audio input to external/microphone mode.
Check: Audio levels on your recording device respond when speaking into the microphone, with no static or dropout.
Step 5: Position the microphone appropriately
Attach the microphone to the talent or subject as recommended—lavaliers on clothing, headset near mouth, or handheld at mouth level.
Tip:Avoid clothing rustle or movement noise by securing lavalier mics properly.
Check: The microphone stays in place comfortably and captures clear speech when tested.
Step 6: Conduct a test recording and monitor audio
Record a short test clip while speaking normally. Listen through headphones or monitor speakers for clarity, volume, and absence of interference.
Tip:Adjust gain or volume on your recording device if audio is too quiet or clipping occurs.
Check: Audio is loud, clear, and free from static or dropouts during playback.
Common Mistakes to Avoid
- Using incompatible frequency bands, causing interference. — Verify the system’s frequency range matches your region and device; avoid overlapping with other wireless devices.
- Poor microphone placement, leading to muffled or inconsistent audio. — Position the mic close to the mouth or source, and secure it firmly to prevent movement.
- Not testing before actual recording, resulting in unusable audio. — Always perform a test recording, check levels, and listen for issues before starting the main session.
- Ignoring battery life, causing dropouts mid-recording. — Use fresh batteries or fully charged power sources; carry spares for quick replacement.
Troubleshooting
Problem: Audio is static or noisy.
Solution: Check for interference from other wireless devices, move closer to the receiver, and ensure batteries are fresh.
Problem: No sound or low volume.
Solution: Verify the transmitter and receiver are paired and powered on. Adjust gain settings and confirm correct cable connections.
Problem: Dropouts or signal loss.
Solution: Reduce distance between transmitter and receiver, eliminate obstructions, and check for interference sources.
What Success Looks Like
Audio is clear and consistent during playback, with no static, dropouts, or background noise. The microphone remains securely attached and captures speech at appropriate levels.
Next Steps
After successful setup, routinely test your system before each recording session. Keep batteries charged, and periodically update firmware if available. For longer shoots, carry spare batteries and a backup wired microphone as a contingency.
Frequently Asked Questions
Can I use a wireless microphone system outdoors?
Yes, but ensure the system operates on interference-free frequencies and is weather-resistant if needed. Test in the outdoor environment beforehand.
What if I experience interference during recording?
Change to a different frequency band, move closer to the receiver, or relocate away from other wireless devices and metal objects.
How do I improve audio quality with a wireless system?
Use high-quality microphones suited to your environment, position them properly, and perform regular tests to adjust gain and levels.
How often should I replace batteries?
Replace batteries before each recording session or when indicators show low power. Carry spares for uninterrupted use.
Fall Picks
fall essentials
As an affiliate, we earn on qualifying purchases.